Event Creation and Ticketing Setup Guide (New England Edition)
Disclaimer: The information provided in NE6 guides is intended for informational purposes only and does not constitute legal advice. NE6 strongly recommends consulting with a legal professional to ensure compliance with local, state, and federal laws that may apply to your event. NE6 assumes no responsibility for the legal requirements of your event.
Welcome to the NE6 Event Creation and Ticketing Setup Guide, your go-to resource for setting up events that New Englanders won’t want to miss! I’m Johnny, and I’ll be guiding you through every step of the process. From registering for NE6 to managing your tickets, we’ll cover everything you need to know.
Let’s break it down step by step and get your event up and running.
Step 1: Register on NE6
Before you can start creating events, you’ll need to register for an NE6 account. Don’t worry, it’s wicked easy!
Here’s how to do it:
- Visit NE6 and click “Sign In” at the top of the homepage and then choose “Create Account“.
- Fill Out the Registration Form: Enter your name, email address, and create a password.
- Confirm Your Account: After filling out the form, you’ll receive a confirmation email. Click the link to confirm your account and you’re in!
Once you’ve registered, you’ll be directed to your personalized NE6 Profile, which is where the magic happens.
Step 2: Create Your Establishment Listing
Your establishment listing is a crucial part of setting up events on NE6. It ties all your events to your business, making it easier for attendees to learn about you and what you offer.
Here’s how to create your establishment listing:
- Log into Your NE6 Account: Once you’ve registered, log in using your new credentials.
- Navigate to “Establishments”: From your NE6 Profile, click “Listings” and select “Establishments” tab. If you have not already created an establishment, you will need to do this first by creating an establishment listing.
- Fill Out Your Establishment Details: Enter your business name, location, and a brief description. Include your business’s focus, whether it’s an event venue, local shop, or festival organizer.
- Add Photos: Upload a logo or pictures that showcase your establishment. This could be your venue, products, or past events you’ve hosted.
Pro Tip: The establishment listing helps build credibility and shows attendees what to expect. Make it eye-catching with high-quality images and detailed information.
Step 3: Navigate to the Event Creation Page
With your establishment listed, it’s time to set up your event.
Here’s how to do it:
- From the main menu, click on the “Add Event” button.
- This takes you to the event setup page where you can enter all the details about your event.
Step 4: Enter Basic Event Details
This is where you start building the core of your event listing. Here’s what you need to enter to attract attendees:
4.1 Event Title
Make your event title catchy and relevant. Think of a title that grabs attention while hinting at what the event is all about.
Example Titles:
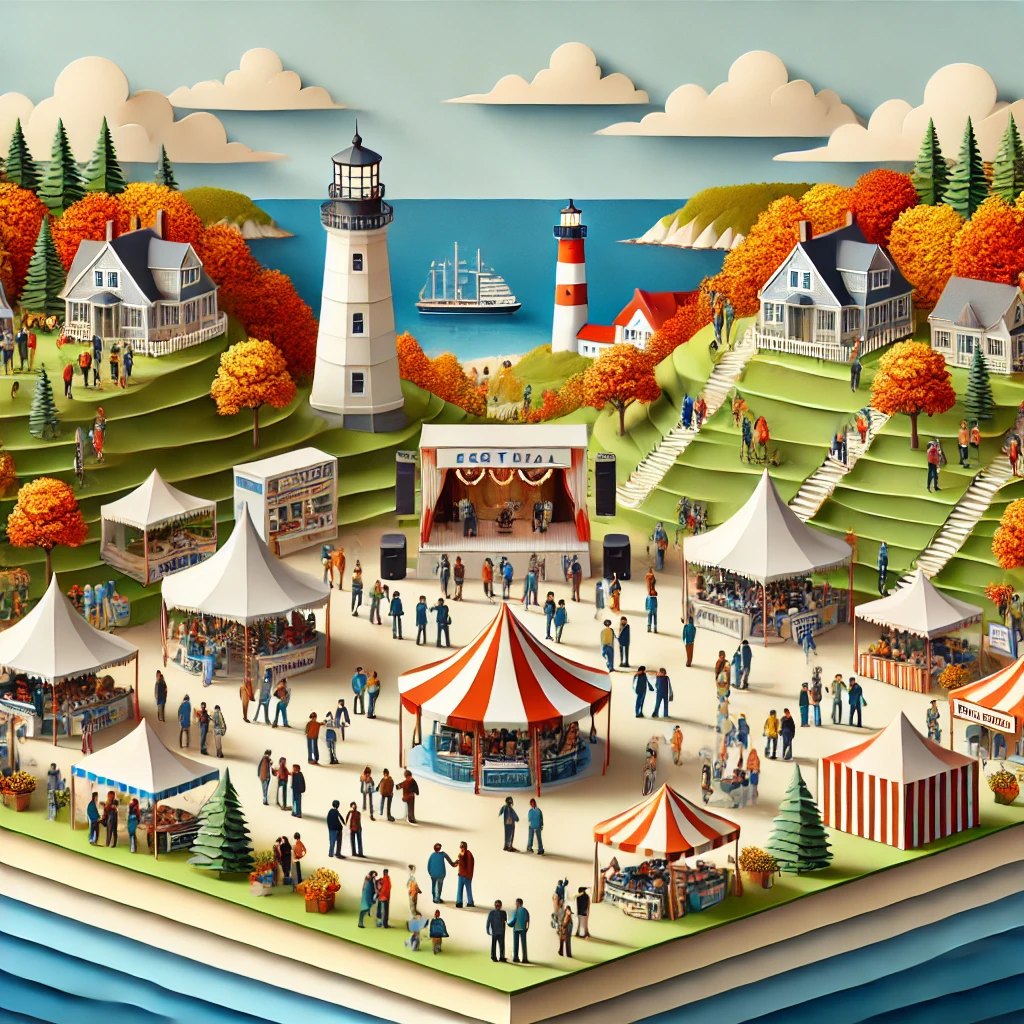
- “Wicked Good Lobster Bake – Maine’s Best Feast!”
- “Autumn Harvest Fair at Apple Hollow Farm”
4.2 Event Description
Here’s where you sell the experience. Give attendees a taste of what they’ll experience at your event, highlighting activities, food, entertainment, and any special guests.
Example Description:
“Join us for the 3rd annual Autumn Harvest Fair, where the crisp New England air meets the region’s best local produce, crafts, and live folk music. With hayrides for the kids, a cider-making station, and the famous Apple Hollow pumpkin pie contest, there’s something for everyone!”
Checklist for a Good Event Description:
- Include highlights: local flair, food, entertainment.
- Keep it descriptive but not too long—focus on the attendee experience.
- Mention any unique or rare features, such as celebrity guests, rare craft beers, or exclusive workshops.
4.3 Event Date & Time
Simply enter the start and end date/time for your event. If it’s a multi-day event, you can list the peak times or special moments in your event description.
Pro Tip: For festivals or multi-day events, let attendees know when the must-see parts will happen (e.g., live performances, contests, etc.).
Step 5: Choose Your Location
Where is your event happening? If it’s a physical location, make sure it’s clearly stated so that attendees know exactly where to go.
- Enter the venue’s address.
- If it’s a virtual event, mention that in the location field.
- NE6 integrates with maps, so attendees can easily find the venue. Pin your event location using the built-in map feature.
Step 6: Upload Photos & Images
Visuals are key to drawing people in. Add images that show off your venue, past events, or highlights that will excite potential attendees.
Best Practices for Photos:
- 1200 x 628 pixels for best quality display.
- Use vibrant, high-quality images that are visually appealing.
Examples of Images to Include:
- Lobster bake: Show lobsters fresh from the ocean.
- Ski event: Capture the snowy slopes and après-ski fun.
Step 7: Additional Event Details (Optional)
Add any extra info your guests need to know, such as parking instructions or event FAQs.
Suggestions for Additional Info:
- Parking instructions.
- What to bring (blankets, sunscreen, etc.).
- Accessibility information (ramps, accommodations, etc.).
Step 8: Review & Preview Your Event
Before your event goes live, it’s a good idea to review everything.
Here’s a quick checklist:
- Preview your event page: Check for typos, missing info, or errors.
- Check your images: Ensure they’re crisp and vibrant.
- Complete checkout: Using discount code “FreePremiumEventListing2024,” you can upgrade your event listing to premium for free! This ensures your event is placed at the top of relevant searches, increasing exposure to your target audience..
Step 9: Ticketing Setup
Once your event listing setup is completed, you can manage your tickets directly from your event listing page by selecting the “Ticket Management” button on the right side of the listing above the sidebar information. Whether your event is free or paid, setting up tickets is easy.
Here’s how to do it:
9.1 Add Ticket Type
- Free Tickets: If your event is free, simply set the ticket price to $0. Great for community events like charity runs, block parties, or festivals.
- Paid Tickets: If you’re charging for admission, enter the ticket price. NE6 charges $1 per ticket plus an 8% commission—one of the lowest rates around!
Example Ticket Prices:
- $25 for a wine-tasting event in Rhode Island.
- $10 for a town harvest festival in Massachusetts.
9.2 Set Ticket Quantity
How many tickets do you want to offer? You can limit ticket availability to control crowd size.
Ticket Quantity Suggestions:
- Large events (festivals, craft fairs): 500–1000 tickets.
- Smaller gatherings (dinners, gallery openings): 50–100 tickets.
Pro Tip: Use early-bird tickets or group discounts to drive sales early. You can even offer special “VIP” tickets for premium access.
9.3 Add Ticket Descriptions
If you’re offering multiple ticket types, be sure to label them clearly. Whether it’s general admission, VIP seating, or a special food-and-drink package, make sure it’s clear.
Example Ticket Options:
VIP Access (includes free drink): $25
General Admission: $10
Step 10: Go Live!
If everything looks good, it’s time to hit that “Publish” button and get your event live for all to see!
- Publish your event: Your event will now be live on NE6 and open for ticket sales or RSVPs.
- Share your event: Use NE6’s social features to spread the word, or share your event on Facebook, Instagram, or Twitter.
Step 11: Manage Your Event
After your event goes live, NE6 gives you the tools to manage everything from ticket sales to communication with attendees.
Here’s how to manage your event:
- Track Ticket Sales: Use your NE6 Event Listing “Ticket Management” dashboard to monitor how many tickets have been sold and access reports.
- Send Updates: Send event reminders or updates to your attendees directly from your “Ticket Management” dashboard via email or through NE6 Social Messaging.
- Check-In Guests: On the day of the event, use NE6’s QR code ticket scanning feature to check people in quickly.
Pro Tips for Event Management:
Consider upgrading your event to a Featured Listing to get more visibility.
Use early-bird discounts to boost ticket sales early.
Once your event is up and running, you might want to dive into more detailed resources. Here are some guides to help you succeed:
Next Steps: Resources to Help You Succeed
- Vendor and Sponsorship Management Guide (New England Edition): Learn how to attract sponsors and manage vendor relationships.
- Safety and Risk Management Guide (New England Edition): Plan ahead for potential risks and ensure your event is safe.
- Event Photography and Media Coverage Guide (New England Edition): Capture the best moments and ensure your event gets media coverage.
- Client and Attendee Relationship Management Guide (New England Edition): Build lasting relationships with attendees and sponsors to ensure future success.
That’s it! You’ve got everything you need to create a wicked successful event on NE6. I’ll be here every step of the way, ready to help you manage your event, from ticket sales to check-ins. If you have any questions, don’t hesitate to reach out—Johnny’s got your back on ChatGPT!
Author: Johnny Sullivan
Johnny Sullivan is the friendly AI persona of NE6, dedicated to guiding users through the platform, enhancing their marketing and entrepreneurial efforts, and boosting customer service interactions. With a knack for detailed information on NE6 features, legal matters, and practical examples, Johnny ensures users get the most out of their experience. Known for his engaging and lively communication style, Johnny is your go-to buddy for making the most of NE6, whether you're seeking casual advice or formal guidance.


Leave a Reply